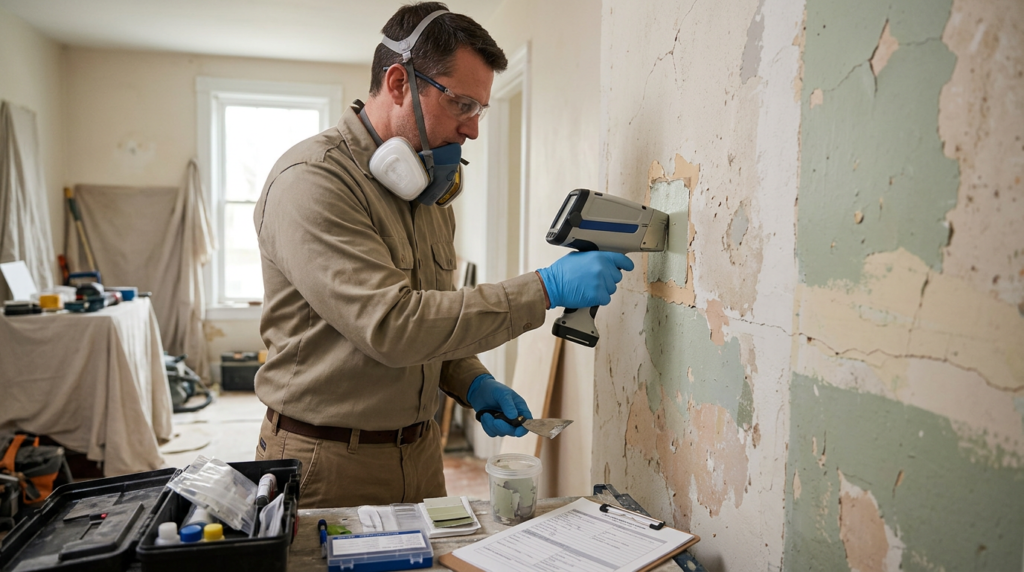
Quick answer: You should consider lead-based paint testing if your home was built before 1978, especially if paint is peeling, you’re planning a renovation, or children or pregnant people spend time there. Testing identifies where lead hazards are present so you can choose the right fix—stabilizing paint, safe renovation practices, or targeted abatement—without guessing or creating more dust.
When Testing Makes Sense
Homes built before 1978 are the classic candidates because lead was commonly used in residential paint until it was banned for consumer use in the U.S. If you see chipping, chalking, or peeling paint—especially on windows, doors, trim, stairs, porches, or railings—testing helps confirm whether lead is part of the problem and where it’s located. That matters because lead risk isn’t only about painted walls; friction and impact surfaces can create fine dust that settles on floors and sills.
Testing also makes sense before sanding, scraping, cutting into painted surfaces, or replacing old windows. Renovation work can turn a small, stable lead-painted area into a widespread dust issue if the wrong prep and cleanup methods are used. If you’re trying to get clear answers before you renovate or buy, scheduling lead based paint testing can help you plan the next step with fewer surprises.
What Lead Paint Testing Actually Tells You
Lead testing focuses on identifying lead in paint and, in some situations, lead hazards from dust or soil. A paint test answers a straightforward question: is there lead in the paint on this surface? That result helps you decide whether normal prep is fine or if you need lead-safe containment and cleanup.
Testing doesn’t automatically mean you must remove all paint. Many homes have lead paint that isn’t currently hazardous because it’s intact and not on high-wear surfaces. The most urgent concerns are deteriorated paint, dust from friction points (like old double-hung windows), and areas kids can chew or touch frequently.
Common Testing Methods and What to Expect
XRF (X-ray fluorescence) is a common on-site method that can rapidly screen many surfaces without damaging them. It’s useful for mapping where lead is present across trim, doors, windows, siding, and other components. Another approach is collecting paint chip samples for lab analysis; this can be practical when you need confirmation on specific layers or materials.
For dust concerns, wipe samples from floors and window sills can show if lead dust is accumulating, which is often the real exposure pathway. Soil sampling may be considered around older foundations, drip lines, or near outbuildings where exterior paint has weathered. A good plan targets the areas most likely to generate dust instead of testing random spots.
What to Do After a Positive Result
If lead is found, the safest next step is choosing a control method that matches the risk. Intact lead paint often can be managed by keeping it in good condition and using lead-safe work practices during any repairs. Deteriorated areas may need stabilization (repairing the substrate and repainting) or enclosure (covering with a durable barrier). Full removal or abatement is generally reserved for higher-risk situations, repeated failures, or major remodeling.
Avoid dry sanding, open-flame burning, or aggressive scraping on suspect paint. Use containment (plastic sheeting), HEPA vacuuming, and careful cleanup to keep dust from spreading. If you want help deciding what to test and how to respond to the results, BluePrint Home Inspection is a practical place to start.