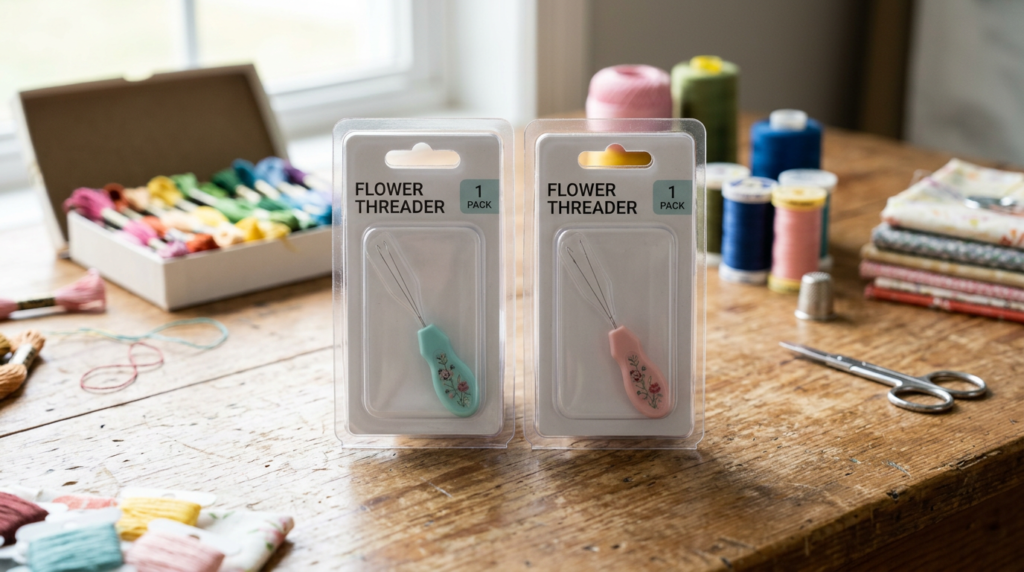
Quick answer: A flower threader 2 pack is a small tool set that makes it faster and less frustrating to pull floss, pearl cotton, or ribbon through needle eyes—especially when the thread is slippery, thick, or frays easily. Having two threaders is practical because they’re easy to misplace and can bend over time. For frequent stitchers, a backup keeps projects moving without improvising.
What a Flower Threader Does (and Why Two Helps)
A flower threader is a wire-loop needle threader designed to grab your strand and guide it through the eye without shredding the fibers. It’s especially handy for metallics, silk, ribbon, and thicker pearl cotton that likes to split or fuzz when you pinch and push it through. If you’re tired of wetting the thread end, trimming repeatedly, or fighting a tiny needle eye, this tool removes most of that hassle.
A two-pack is more useful than it sounds. Threaders are small, and they can bend if you pull too hard or catch the loop on the needle eye. Keeping a spare means you don’t lose momentum mid-project, and you can leave one in your travel kit and one by your main stitching spot. If you want a simple option, the flower threader 2 pack is the kind of everyday notion that quickly earns its keep.
Signs a Threader Will Make Stitching Easier
You’ll feel the difference if you regularly re-thread your needle (short lengths, frequent color changes, or lots of starts and stops). It’s also a big help if you use smaller tapestry needles, work with limited light, or have hand stiffness that makes fine pinching motions annoying.
Common “threading pain” situations include: the thread end mushrooms or frays after a few attempts, metallics unravel at the tip, ribbon creases and won’t feed cleanly, or you keep missing the needle eye and snagging the thread. A threader won’t fix every issue, but it reduces the repeated trimming and re-trying that wastes time and thread.
How to Use One Without Bending It
Start by cutting a clean thread end. If you’re using multiple strands of floss, align the ends and smooth them between your fingers; for ribbon, keep it flat and avoid twisting. Insert the wire loop through the needle eye first, then place the thread into the loop, and pull the loop back through the eye in one steady motion.
If it feels stuck, don’t yank. That’s when the wire loop bends or breaks. Instead, back it out and check the match between thread thickness and needle size. If you’re forcing a bulky thread through a small eye, switch to a needle with a larger eye or reduce the number of strands. For stubborn metallics, trimming the end at a sharp angle can help the loop pull it through more smoothly.
Picking the Right Needle-and-Thread Combo
A threader is a helper, not a workaround for a mismatched setup. If you’re using 18-count canvas, many stitchers use a smaller tapestry needle than they would on 13-count, and that smaller eye can be tight with thicker fibers. If you notice consistent resistance, go up a needle size (larger eye) or down a thread size (fewer strands or a finer fiber) so the thread moves without abrasion.
Also watch for thread damage near the eye after stitching a few inches. If the strand looks fuzzy or flattened, it’s a clue the eye is too tight or has a burr. A threader gets you started, but the right needle prevents ongoing wear. If you want help matching needles, fibers, and tools for your specific project, ask at Blue Willow Needlepoint.