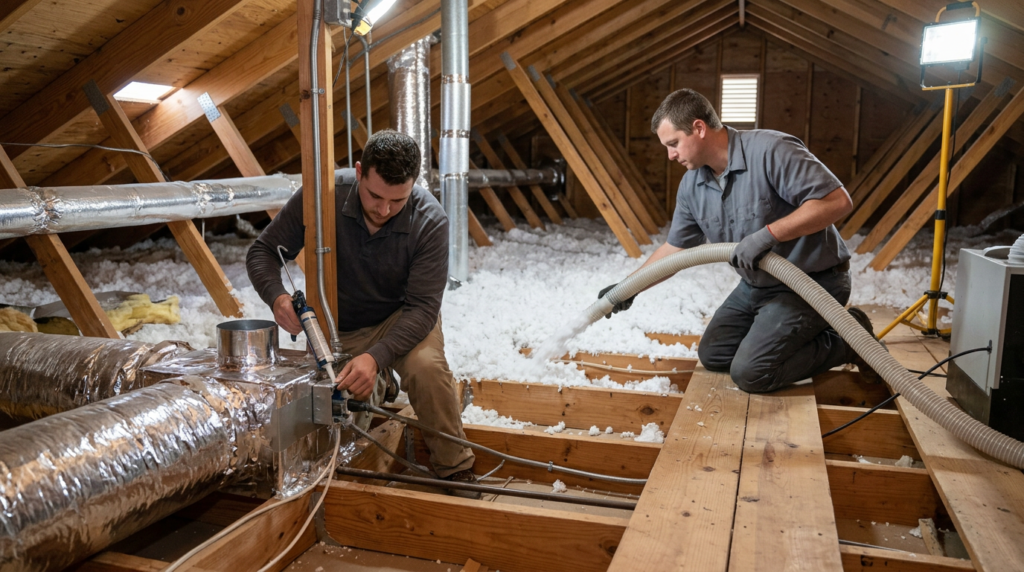
Quick answer: The biggest gains in many older homes usually come from tightening the building envelope: air sealing major leak paths, then adding insulation (often the attic first). After that, targeted window/door repairs or replacements and HVAC tuning tend to deliver better comfort per dollar. Once a home is tighter, controlled ventilation and combustion-safety checks help keep indoor air healthy and safe.
Start With Air Leaks and Insulation
Older homes often lose energy because outside air slips in through lots of small openings. The highest-impact work is usually sealing the biggest leakage paths first—attic penetrations (around plumbing stacks, chimneys, wiring holes), the attic hatch, basement/crawlspace gaps, and the rim joist area. This typically reduces drafts and helps rooms hold temperature more consistently.
Prioritized checklist (highest impact first, typical ranges):
1) Air-seal common targets: attic bypasses (top plates, recessed lights not rated for insulation contact, bath fan housings), chimney/vent chases (with proper fire-rated materials), rim joists, sill plates, and big plumbing/electrical penetrations. Many homes see the most noticeable comfort change from finding and sealing a handful of large leaks rather than chasing every tiny crack.
2) Attic insulation after sealing: a typical target is roughly R-38 to R-60 depending on climate and roof design. That often translates to about 12–20 inches of loose-fill fiberglass or cellulose (product and settling vary). In warmer zones, many guidance documents still suggest around R-30 to R-49. Your best target depends on climate zone and whether the attic is vented or conditioned.
3) Basement/crawlspace and rim joist: sealing and insulating rim joists can be high impact where floors feel cold or you get musty odors. Moisture control (bulk water, ground vapor) usually needs to be addressed first.
4) Windows/doors: air-seal and weatherstrip first unless frames are failing (more on that below).
Energy guidance commonly recommends sealing before insulating because moving air can bypass insulation performance; the U.S. Department of Energy and ENERGY STAR both emphasize that sequence. For optional further reading that mirrors these “common fixes” in one place, see energy efficiency upgrades.
Windows, Doors, and When Replacement Actually Makes Sense
New windows can help, but in many older homes the “draft” you feel is often from air leaking around the window frame or through worn weatherstripping—not necessarily through the glass itself. A careful air-seal at the trim/frame, fresh caulk where appropriate, sash lock adjustment, and new weatherstripping can be a strong first step, especially if the window is otherwise solid.
Typical decision rule: choose air-seal/weatherstrip when the frame is sound, the sash operates reasonably, and the main issue is air leakage or rattling. Consider replacement when you have rotted frames/sills, chronic water intrusion you can’t correct, failed insulated glass (fogging between panes on double-pane units), safety/egress concerns, or windows that can’t be made to operate and lock properly. Doors are similar: a new sweep, threshold adjustment, and tight weatherstripping often fix visible daylight and cold air at the bottom.
A 30-Minute Homeowner Check vs. What Needs a Pro
You can inspect in about 30 minutes: Hold your hand near window/door edges on a windy day, check for daylight at door thresholds, and look for obvious gaps where pipes or wires enter cabinets, basements, or attics. In the attic, peek at the hatch: is it insulated and weatherstripped, and do you see dark “dust streaks” on insulation (often a sign of air movement)? In the basement, look at the rim joist area for cracks, missing insulation, or dampness. Outside, confirm bath fans actually terminate outdoors (not into the attic), and that the dryer vent is intact and not leaking into the house.
Usually best handled by a pro: blower-door–guided air sealing, dense-pack wall insulation, spray-foam work at rim joists, and any changes that affect combustion appliances or ventilation strategy. HVAC duct sealing and balancing can also be technical, especially if comfort problems are room-specific.
Red flags before air sealing/insulating: signs of active roof leaks, visible mold growth, persistent wet wood, or strong musty odors should be addressed first. Treat combustion safety as non-negotiable if you have atmospherically vented furnaces/water heaters or fireplaces—tightening a house can increase backdrafting risk if not evaluated. Also watch for knob-and-tube wiring in attics (insulating over it is often unsafe or prohibited) and recessed lights not rated for insulation contact. Building Science Corporation and ENERGY STAR both stress pairing air sealing with appropriate ventilation and safety checks in tighter homes.
Heating, Cooling, and Ventilation After Tightening Up
After air sealing and insulation, heating and cooling systems often perform better because the house is losing less conditioned air. That’s typically when equipment upgrades, duct sealing, and airflow adjustments deliver more consistent comfort, since the system isn’t fighting as many uncontrolled leaks.
Tightening can also reduce “accidental ventilation,” so plan for intentional fresh air. Bath fans vented outdoors, a kitchen exhaust that actually captures cooking moisture, and (in some homes) dedicated ventilation can help control humidity and indoor air quality. DOE and ENERGY STAR guidance commonly recommends verifying ventilation needs after major air sealing, especially in homes with combustion appliances.
For hands-on help choosing and sequencing improvements so they work together, Tipton’s Fine-Tuned Carpentry can walk through your home’s trouble spots and recommend practical next steps.